Connections |

|
Connections |
|
Before you can add a connection, you must create a new document or open an existing one. Although Royal TS supports multiple connection types (based on available plugins), they all have a common set of commands and features (like Connect, Disconnect, etc.).
Royal TS supports many different connection types. Click on the Add drop down button to see the most common connection types or click on More... to see all available object types:

You may also switch to the EDIT tab and select the connection object you want to add.
Note |
Selecting a connection type from the above options will create a new connection based on the Default Settings configured for the selected type. This means that all settings, including the setting to control which plugin to use for the connection, are taken from the Default Settings of the selected connection type. Navigate to the Default Settings folder in the Application document to adjust the defaults for each connection type. |
Selecting the More... menu item displays a dialog where you can choose from all available object types including connections based on a specific plugin or based on a custom connection template:
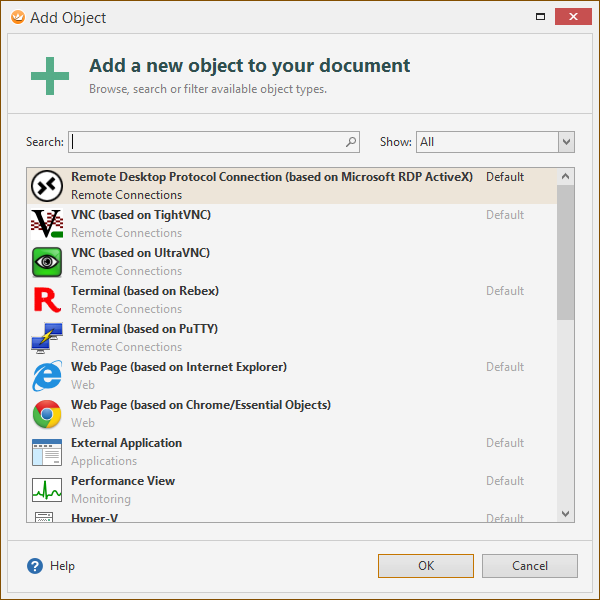
See also: Plugins and Templates
In this example, a Remote Desktop connection is created.
Note |
You cannot create connections in the Application document. You need to create a new or open an existing one first. See also: Documents and Files |
Note |
Click on the browse button (...) to open the Entry Editor dialog which also features a network browser dialog. The Entry Editor dialog can be used to search for computers in your network and to add multiple entries for different servers with the same settings at the same time. |
Note |
The default settings for new connections can be changed in the Default Settings folder in the Application document. |